

How to Make a Game: Manufacturing Considerations and Materials

So you’ve designed a board game. The mechanics click, the theme works well with the mechanics, and playtesting has gone beautifully. Figuring out how to actually make the thing is something designers might leave for later (especially if pitching: ‘the publisher will figure that part out’ is a common attitude).
Manufacturing is where creative vision meets physical reality, and the decisions you make here will affect your budget, your timeline, and the way players experience your game at the table. These manufacturing decisions shape the cost, weight, durability, and even how players experience the game. A small component change can move a production quote by thousands of dollars.
Let’s walk through the most common game components you’ll encounter, and then talk about how to keep your costs from spiraling out of control.
Important notes / caveats: this post is written from an informed designer’s perspective, but there’s plenty of stuff here you’ll want to hear straight from a manufacturer’s representative. If you’re heading to a convention, there’s a good chance to speak to some, feel some samples, ask questions, and start a conversation.
From a manufacturer’s perspective:
Factories care about three things:
Material
Tooling
Assembly time
Material affects the base cost of each piece. Tooling refers to the molds or cutting dies needed to produce components. Assembly time determines how long workers spend packing the game.
From a player’s perspective:
Small tweaks to components can make a game come alive.
A wooden piece shaped like a tree feels a lot more like a tree than a green cube does.
Common components
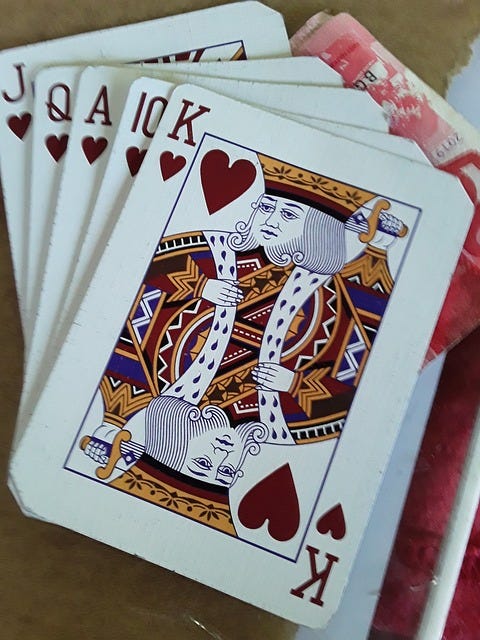
1. Cards
Cards are the backbone of modern board games. They’re relatively inexpensive to produce in volume, and they carry enormous amounts of information (think art, text, iconography, etc.) in a small footprint. The key variables are card stock (measured in GSM, or grams per square meter), finish (linen texture vs. smooth), and size.
Standard poker size cards (63mm x 88mm, or 2.5” by 3.5”) are some of the cheapest things you can put into a box. When choosing cardstock, you aren’t just picking thickness; you are picking the ‘core’:
Grey Core: The most budget-friendly, often used for games where cards aren’t handled constantly.
Blue Core: The industry standard. It has a layer of blue glue in the center to prevent “show-through” under bright lights.
Black Core: The premium choice. It offers maximum opacity and the best “snap” back to shape.
Cost factors include:
Number of cards
Finish type (Linen finish makes cards easier to shuffle and gives them a bit of texture)
Whether the deck requires sorting or shrink wrapping
2. Cardboard / chipboard tokens
Tokens punched from a chipboard sheet are one of the most cost-efficient components you can include. A single punchboard sheet can yield dozens of tokens, coins, health markers, or resource tiles. Thickness matters: 1.5mm is standard, while 2mm or thicker feels premium. Both are cut the same way, but heavier board stock increases material cost incrementally. A metal die cuts the pieces out, but this die has to be changed out for every different sheet pattern
If your game involves a lot of handling (think currency or resource tokens) consider a linen finish on the punchboard can make them feel significantly more high-end without a massive price jump.
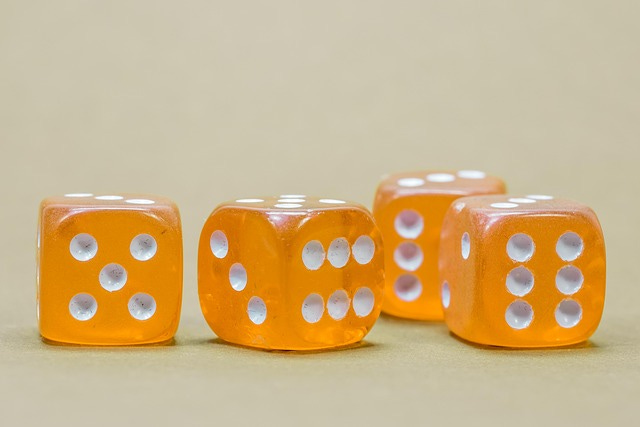
3. Dice
Standard six-sided dice (d6s) are the cheapest dice you can source, since they’re produced in enormous quantities worldwide. Specialty polyhedrals (d4, d8, d10, d12, d20) cost more, and custom-engraved or screen-printed dice with unique symbols sit at the premium end. If your design uses dice primarily for randomness rather than narrative identity, consider whether custom faces are truly necessary.
While I wouldn’t dismiss custom dice out of hand. the more molds that are needed, the more I’d hesitate. It’s one thing to have, say, 20 identical custom dice vs. 20 dice that are unique.
4. Cubes
Wooden cubes are a staple of the hobby, particularly in the Euro-game tradition. They’re small, tactile, easy to hold, and available in bulk at very low cost. Standard sizes are 8mm and 10mm. The cost difference between wooden cubes and custom-molded plastic pieces is substantial - if cubes fit your game’s aesthetic or theme, they’re one of the best value components available.
5. Meeples and other wooden shapes
The humble meeple - that iconic worker-placement figure - has become synonymous with modern board gaming. Standard wooden meeples are nearly as affordable as cubes. Custom-shaped meeples (animals, vehicles, unique silhouettes) require new tooling, which means a one-time upfront cost that will depend on complexity.
6. Miniatures
Miniatures are where unboxing moments become legendary. Plastic minis are injection-molded, which requires expensive tooling per sculpt. A single unique plastic sculpt can cost $1,000 to $5,000+ in tooling before a single unit is produced. That said, if miniatures are central to your game’s identity (think dungeon crawlers or epic narrative games), the investment is often justified. Just know what you’re getting into.
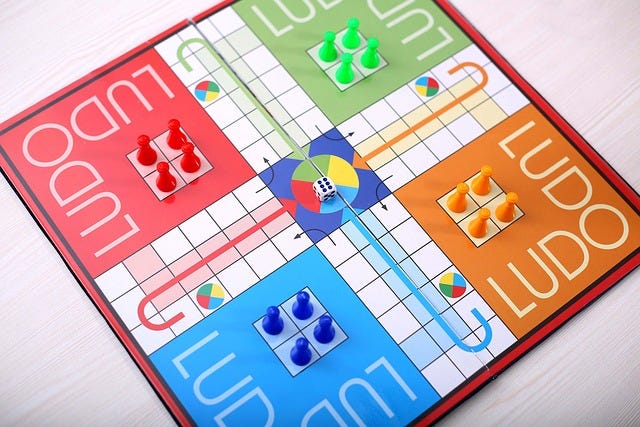
7. Game board / neoprene mat
Most game boards are made from two layers of thick grey chipboard, laminated together with a printed sheet on top, then folded. There’s plenty of ways to fold a board: bi-fold, tri-fold, quad-fold, and six-fold. Where costs climb is in board count (some games ship multiple boards), board size (larger formats require larger presses), and finish (matte laminate vs. glossy vs. spot UV).
Neoprene mats (AKA ‘mousepad material’) can feel like a deluxe choice, but they add some significant weight to your game. They ‘roll out’ better and have a different texture.
8. Player boards / player aids
Whether you want to use chipboards or cards will come down, your thickness and finish choices here mirror those for the main board.
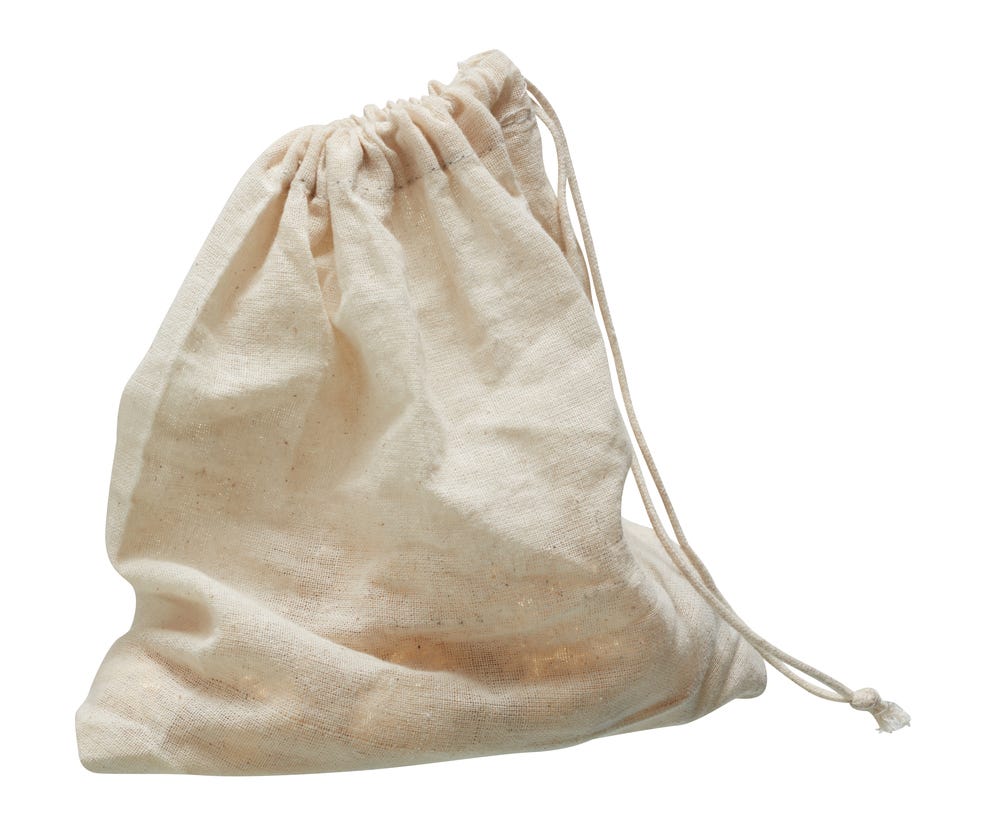
9. Bags / inserts
Cloth drawstring bags are useful for blind draws and can be made in almost any size, thickness, or color. They’re relatively inexpensive and add a tactile, premium feel to the experience.
As inserts go, vacuum-formed plastic trays (the insert inside the box) or carefully folded paper / cardboard are another consideration. Either way, the goal here is an insert that keeps components organized and helps the game set up quickly.
This is a good time to mention a brilliant video from Elan Lee, the guy behind Exploding Kittens.
This isn’t rocket science, and inserts and some thought dramatically improves the player experience.
10. The box
It is easy to treat the box as an afterthought, but it shouldn’t be. Your box is your product’s first impression, its shelf presence, and its protective shell for years of play. Box construction (depth, material thickness, tuck-box vs. lift-lid) and print quality all affect cost. A sturdier box commands a higher perceived value, but increases weight - which matters enormously for shipping costs.
Again, watch the video above.
Most hobby games come in a two-piece ‘telescope box’, but some games are coming in slightly more expensive ‘magnetic flip’ boxes and other games are coming in somewhat less expensive corrugated games. are seeing a shift toward “Magnetic Flip” boxes for deluxe editions. While they feel premium, they add weight and complexity to the assembly line, so use them sparingly.
11. The Rulebook
The rulebook is not optional, regardless of its size (QR codes are great for pointing to videos, but the game still needs to come with a physical, paper rulebook).
‘Saddle-stitching’ (AKA stapling) is standard for booklets of almost any paper size under 64 pages. If your rules are a literal book, expect to use ‘Perfect Binding’ (a glued spine), which costs more but looks professional on a shelf. As you might guess, hardback books are more expensive than softcover books.
Now, for bespoke components
Not every game needs components that are specifically and uniquely made for it. When designing, I want to try to ensure my game isn’t reliant on a bespoke piece or part… but sometimes that’s part of the game’s allure.
Sometimes a component is a centerpiece. Picture the large wooden piece you grab in Jungle Speed:

It gives everyone a pretty obvious target, it’s easy to grab, it’s easy to reset, and it’s very difficult to lose or misplace.
Regard the pyramid in Camel Up:

With one motion, a random die is selected and rolled. When not in use, it’s a central element of the board. Not bad for a bit of cardboard and a rubber band.
Use your manufacturer representative
Whether you’ve talked to them at conventions or via email / video calls, they’re going to be a great first person to chat with to understand what they can do. Conventions are a better way to chat since you can show them your game and get suggestions, while picking up a sample kit to understand how components feel and what’s possible.
Over to you
There’s far more to learn about manufacturing than any single blog post (or even a book) could cover… Feel free to ask questions in the comments, though.